LibreOffice is one of the friendliest and fastest-growing projects in the free and open source software world, which includes several applications that make it the most powerful office suite on the market – its clean interface and feature-rich tools help you unleash your creativity and enhance your productivity.
Free download address: https://www.libreoffice.org/download/download/
1. Getting Started
- Open the LibreOffice label template you downloaded from Mr-Label.com.
- For this project I’m using MR550 template. You should see something like I do (see Figure 1)
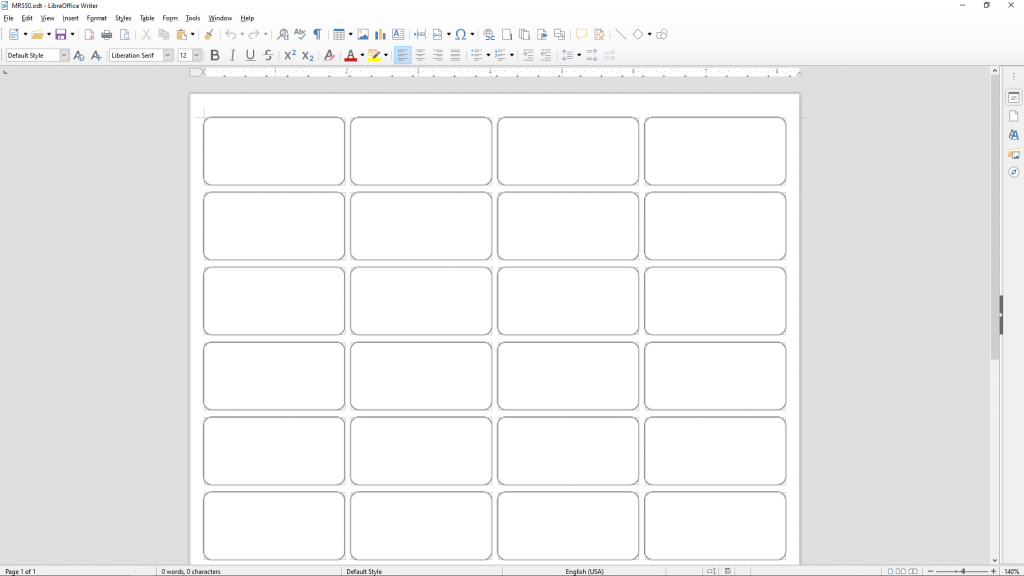
Figure 1
2. Design the First Label
(1)Enter into the editing area.
- Move the mouse inside the label and click it. You can see the flashing vertical line (see Figure 2), which means now you can edit the text in this area.
- If you accidentally click on an area other than the inside of the label, the outline mark shown in Figure 3 appears, and you will find that no matter which part of the page you click on, the flashing vertical line can no longer appear, which means that you have selected the background border image. At this point, you can start editing the text by simply clicking on the gray area next to the paper and then moving your mouse inside the label. (see Figure 4)
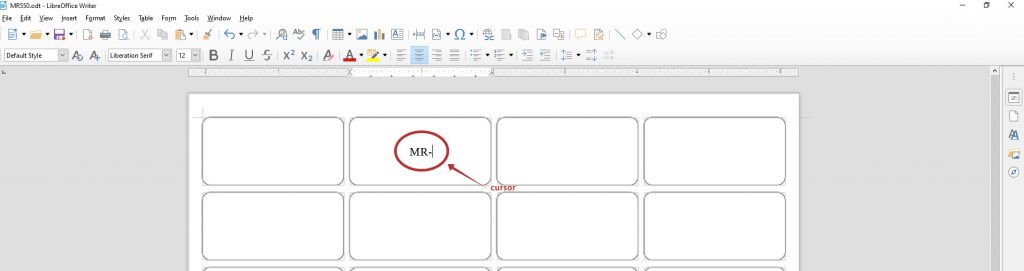
Figure 2
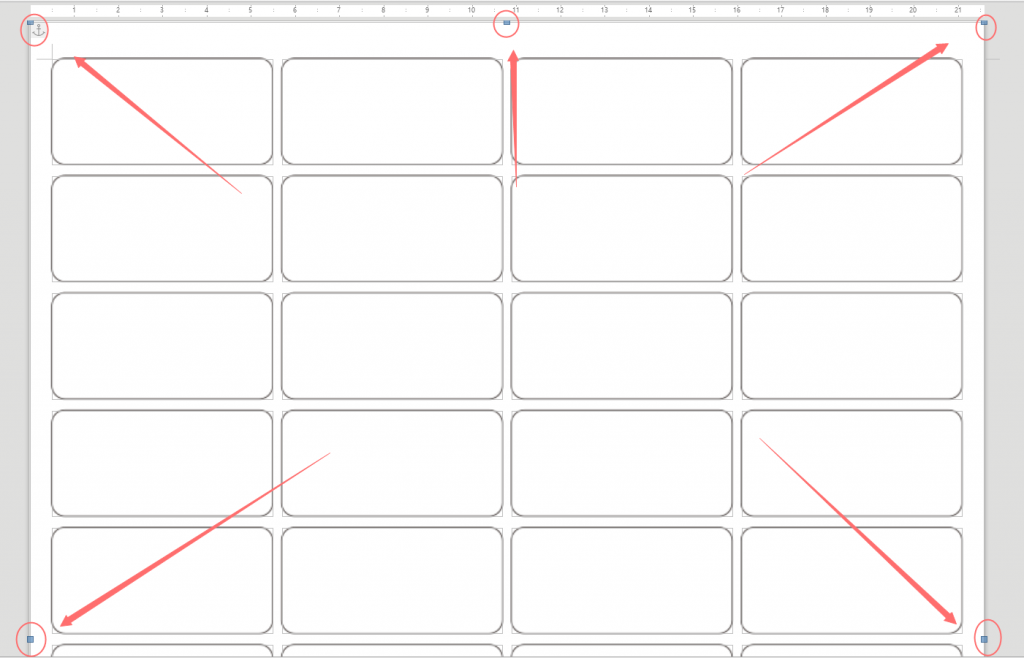
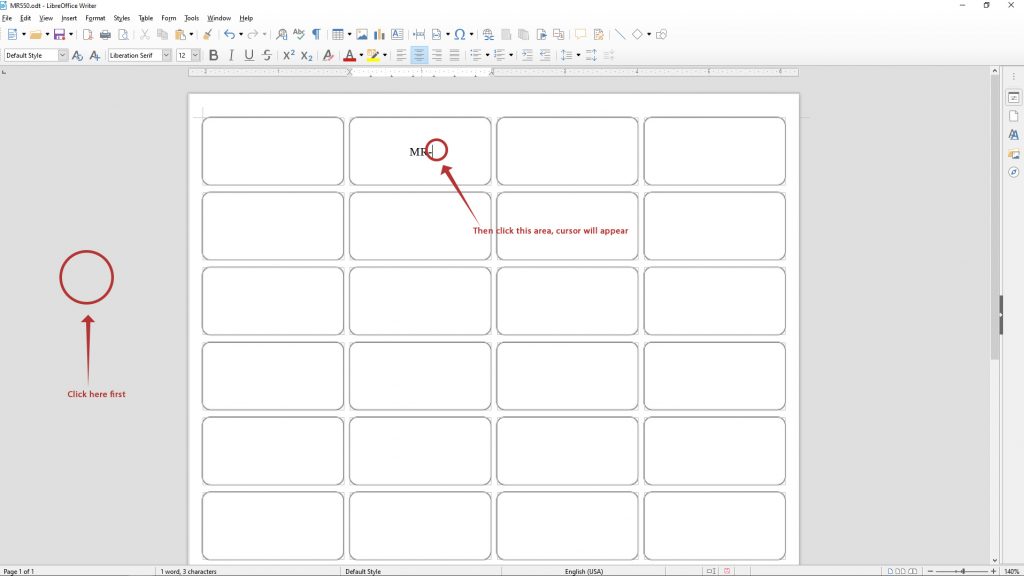
Figure 4
(2)Enter text into the form.
We set the text formatting of the edit area to vertical center alignment, which prevents editing text from getting out of the border. Of course, if you want to use “top center alignment”, “top left alignment”, etc., you can adjust it as follows.
(a) Set vertical alignment – Select one label, right click the mouse, select “Properties” (Figure 5), enter the interface of Figure 6, in the “Options”, you can see a ComboBox in “Content alignment” – “Vertical alignment” where you can choose the three alignments of “top”, “center” and “bottom”.
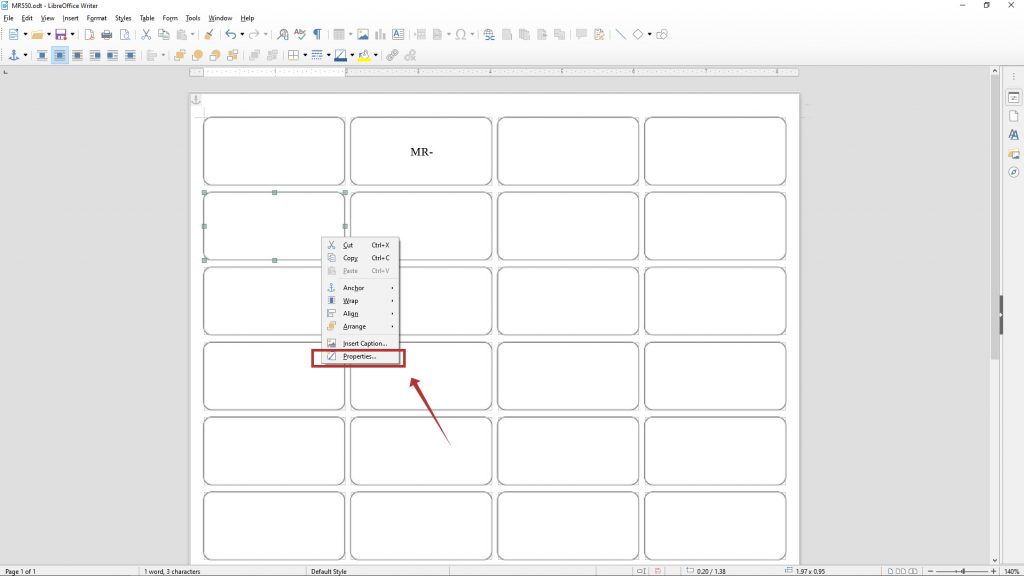
Figure 5
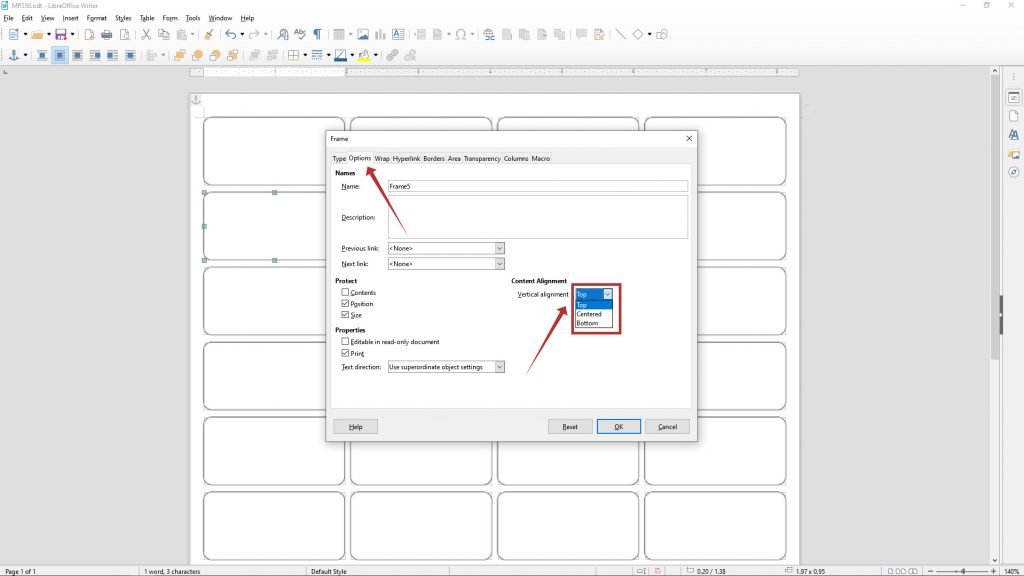
Figure 6
(b) Set left and right alignment – Mouse click on the editing area, there are four bar icons above the file mean ” Align Left”, “Center”, “Align Right”, “Justify” from left to right, you can choose anyone of these four alignments as you like. (Figure 7)
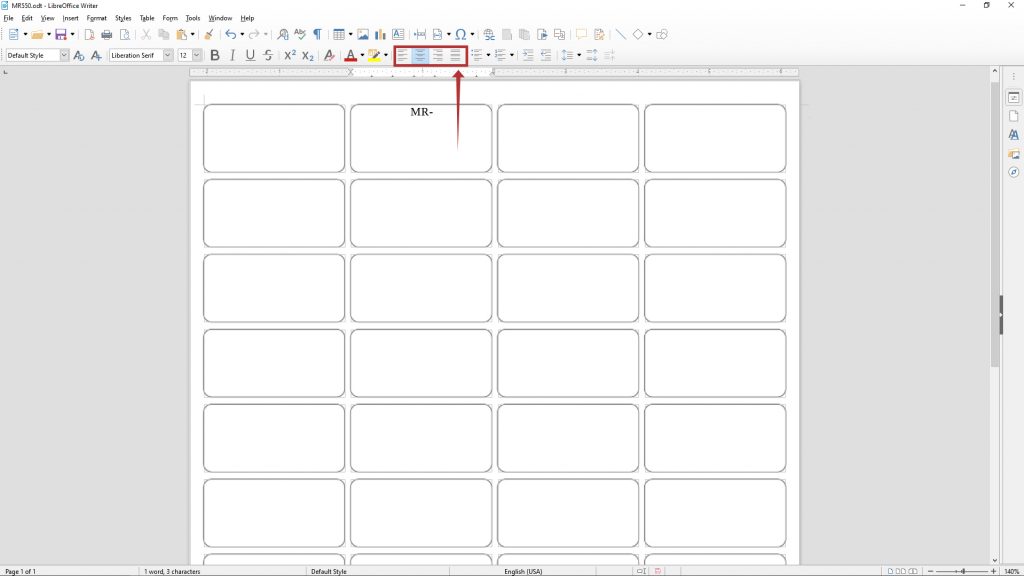
Figure 7
(3)Insert picture.
Click “Insert” > “Pictures”, select picture from the directory, click “Insert”, then the picture will be displayed in the label (Figure 8). Generally, the inserted picture will automatically match its size as the label size. (Figure 9)
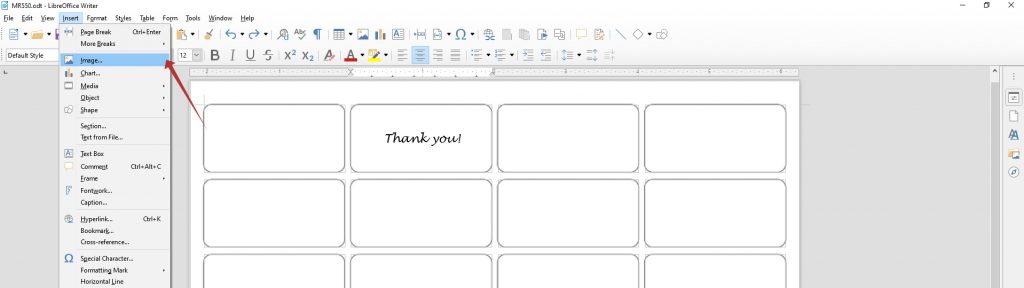
Figure 8
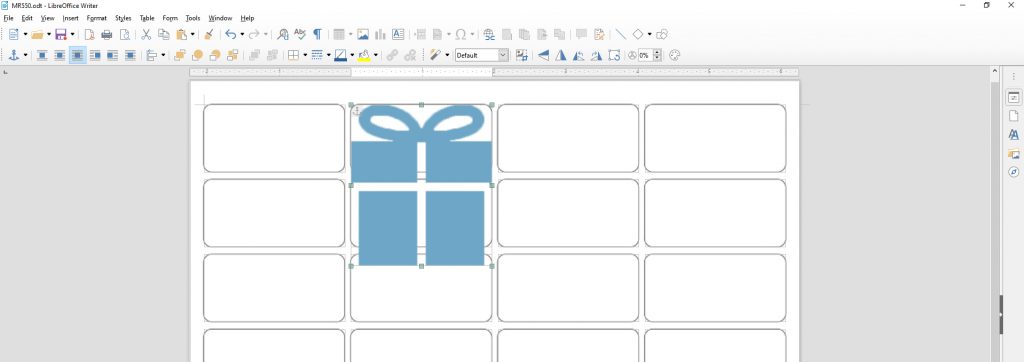
Figure 9
(4)Change the position and size of the inserted picture.
- You only need to move your mouse to the lower left corner of the image to resize the image. (Figure 10)
- Select the image, click the right mouse button, select “Properties” (Figure 11), you will see the interface shown in Figure 12. Here you can adjust the position and size of the image according to your idea. (like Figure 13)
- Attention: Laser and inkjet printers have an accuracy of approximately plus or minus 1mm in the vertical and in the horizontal, and the paper can also rotate slightly as it goes through the printer. You need to take this into account when you design your labels. If possible, avoid designing labels with a border around them because any inaccuracy will be visible.
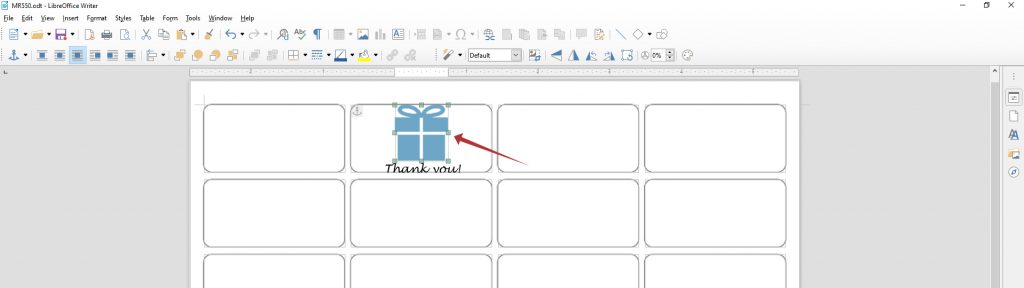
Figure 10

Figure 11
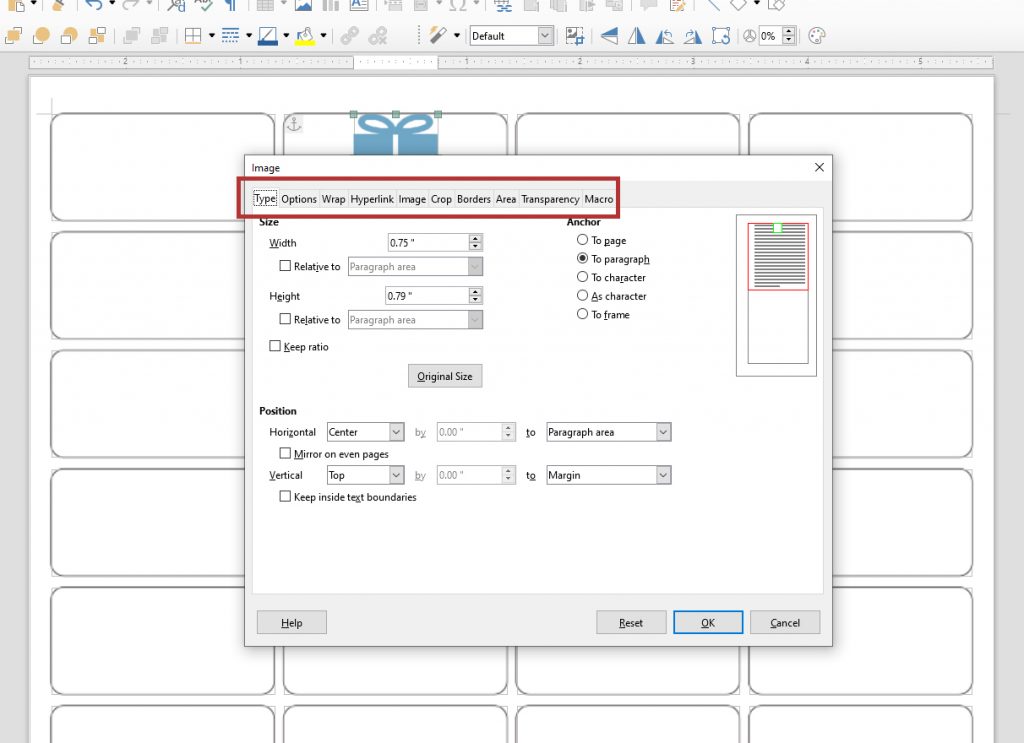
Figure 12
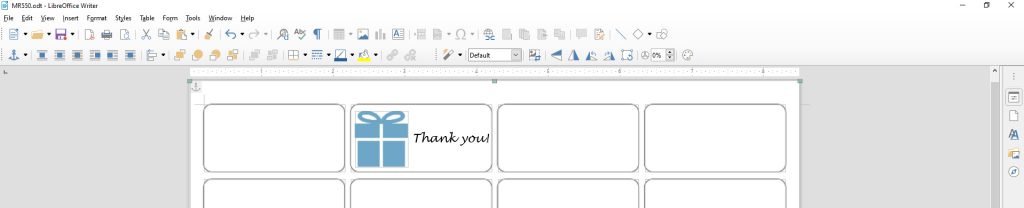
Figure 13
3. Edit other labels
If all your labels contents are the same, you can select the content inside the first label (including text and images), then copy them to the remaining labels.
If your labels contents are stored in a spread sheet, please refer to the following article. < How to create labels with LibreOffice>
4. Print and enjoy!
The border is inserted as a background image. We have set this background border image not to be printed when we made this template. However, if we accidentally miss a label setting that causes the border to appear during print preview, you can set the background border to not be printed by the following steps: Select the background, right click the mouse, select “Properties”- “Options” and uncheck the “Print” checkbox. (See Figure 14)
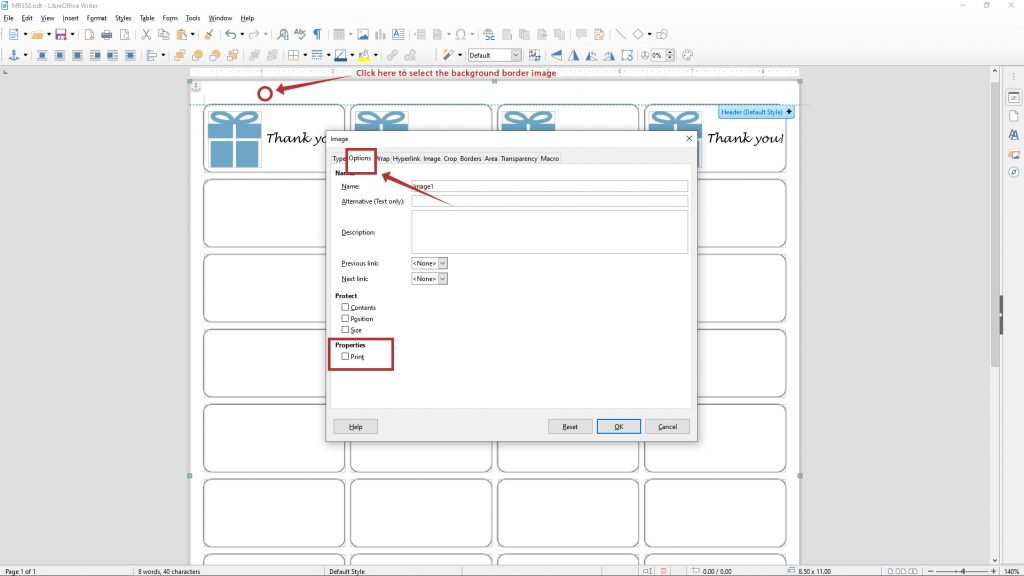
Figure 14
Appreciate this post. Will try it out.|
Appreciate the recommendation. Let me try it out.
Thanks for the tip to format the labels, since you can’t simply format the paragraph to be vertically centered (tdf bug #36117).
There’s an easier way to format all the labels at once instead of selecting one and then copying. Choose Styles > Manage Styles to make the Styles and Formatting appear in the sidebar[*], then click the red square to show Frame Styles, then right-click Labels and choose Modify…, then the rest is the same as your Step 2(2)(a) : in the Frame Style: Labels dialog, choose Options > Content Alignment > Vertical alignment > Centered. This will modify all the labels at once.
[*] If you don’t see the sidebar, choose View > Sidebar, and click the little < to make it pop out of the right side, then switch to Styles and Formatting.
I bought the MR610 labels and I am using the latest version of LibreOffice. The Template opens up OK, except the editable regions are the clear large portions below the actual white label region. I spent 15 minutes Googling how to unlock certain sections of a LibreOffice (24.2.5 Mac) ODT document and couldn’t figure this out. Thanks.
No worries. I downloaded the Adobe PDF from your site and opened it in LibreOffice and was able to edit the correct areas.
How did you get rid of the cell outlines that print when editing in LibreOffice?
Dear labelGeek,
I am writing to inform you that the LibreOffice template for MR610 has been updated and is now available for download. We appreciate your patience during this process and sincerely apologize for any inconvenience this may have caused. We also send you an E-mail with the correct templates attached.
If you have any further questions or need assistance, please do not hesitate to reach out.
Thank you for your understanding.
Best regards
Received. Noting it here to let future customers know the company is very responsive. Thank you.
Same issue. Editable areas the the non-printable clear sections of the labels